Quickstart
Get Northstar running a task in under 5 minutes.
1. Install the SDK
Section titled “1. Install the SDK”pip install tzafonnpm install @tzafon/lightcone2. Get your API key
Section titled “2. Get your API key”Sign up at lightcone.ai and copy your API key from the dashboard.
Set it as an environment variable:
export TZAFON_API_KEY=sk_your_api_key_here3. Give Northstar a task
Section titled “3. Give Northstar a task”from tzafon import Lightcone
client = Lightcone()
for event in client.agent.tasks.start_stream( instruction="Go to wikipedia.org, search for 'Alan Turing', and tell me the first sentence of the article", kind="desktop",): print(event)import Lightcone from "@tzafon/lightcone";
const client = new Lightcone();
const stream = await client.agent.tasks.startStream({ instruction: "Go to wikipedia.org, search for 'Alan Turing', and tell me the first sentence of the article", kind: "desktop",});
for await (const event of stream) { console.log(event);}Run it:
python quickstart.pynpx tsx quickstart.tsNorthstar in action
Section titled “Northstar in action”Here is a simpler task, captured step by step: open the terminal and check the OS. Every step is a decision Northstar made on its own:
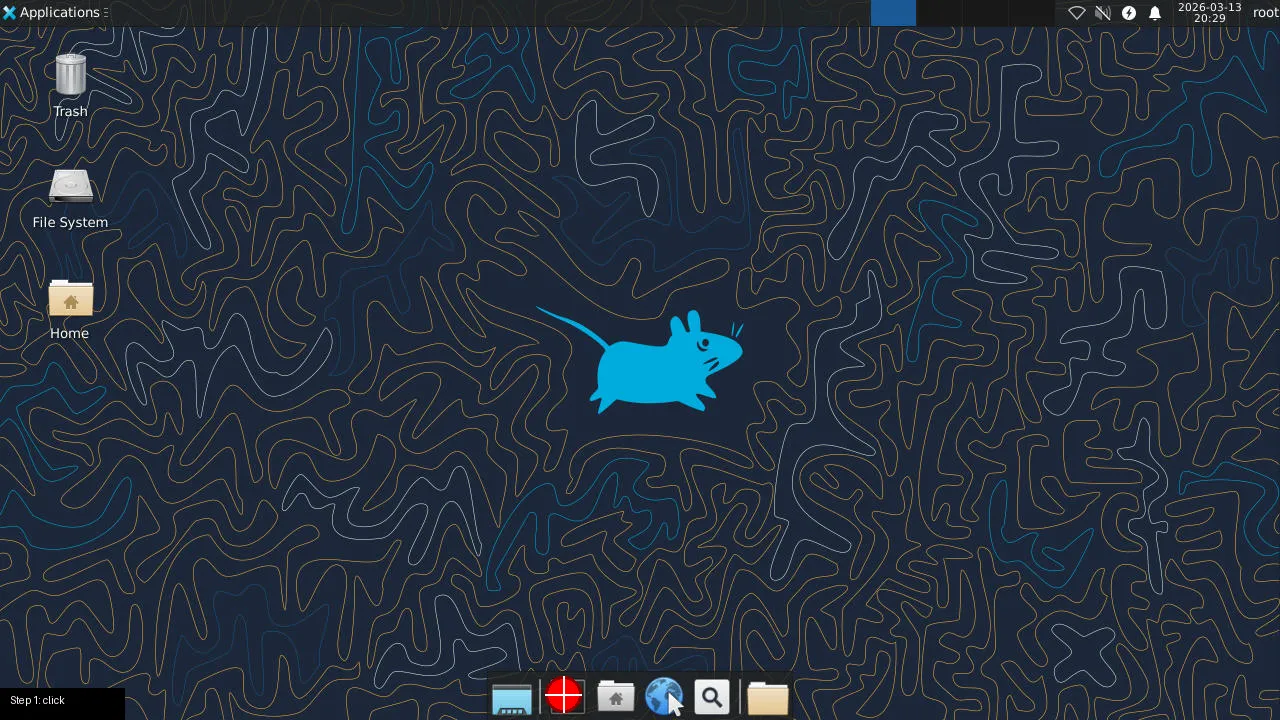 Step 1. Northstar sees the desktop and clicks the terminal icon.
 Step 2. Terminal opens. Northstar types
 uname -a.
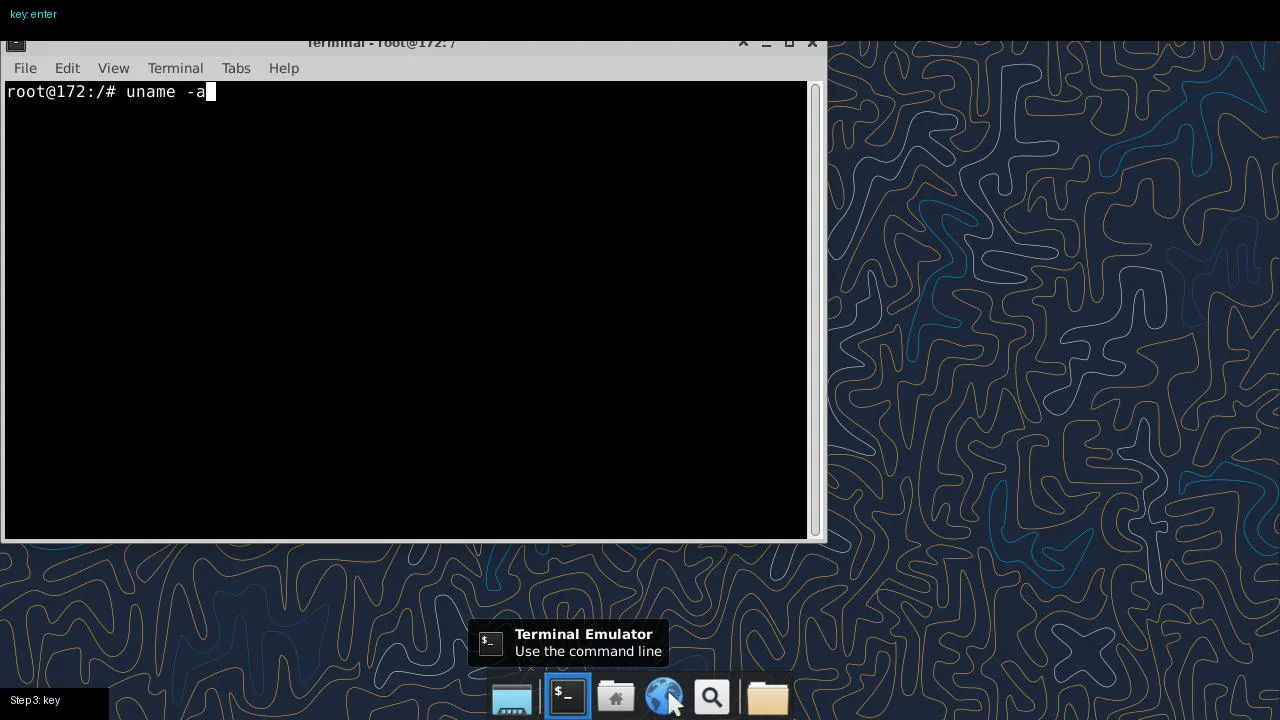 Step 3. Northstar presses Enter.
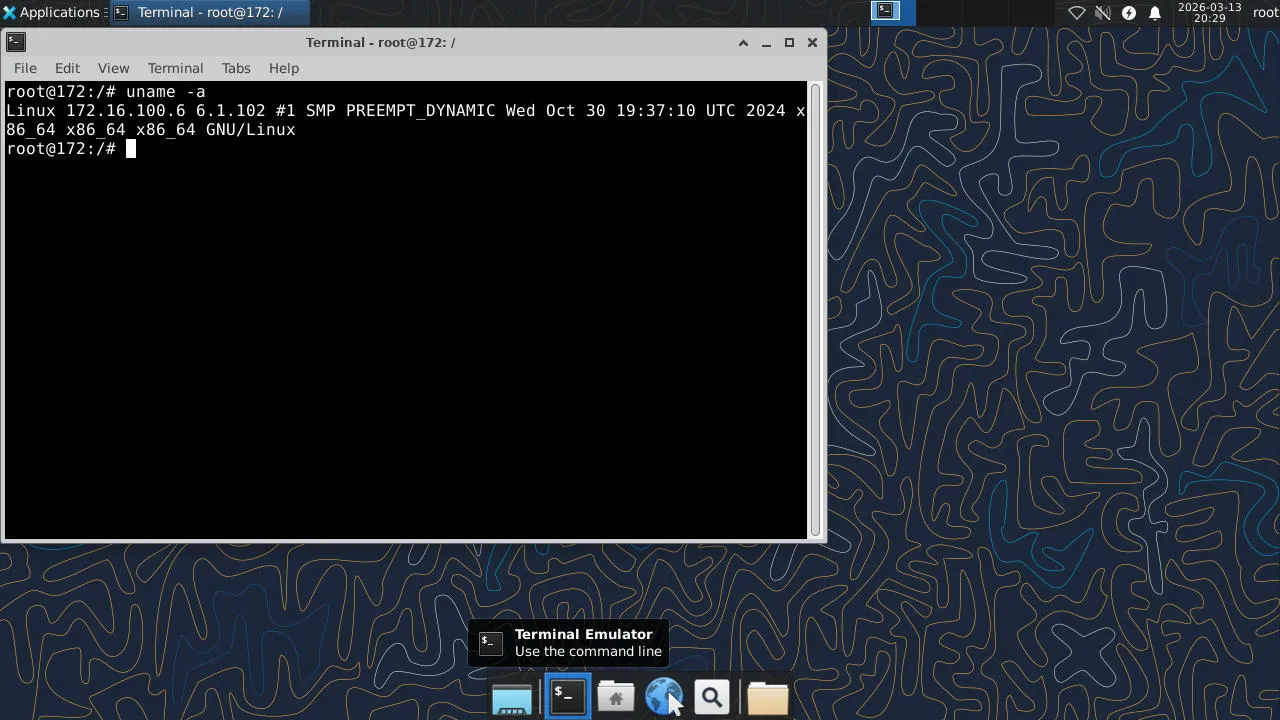 Step 4. Done. Northstar reads the output: “The operating system is Linux.”
Three actions, zero human input. Northstar saw the screen, found the terminal, ran the command, and reported the result.
Want to generate these annotated screenshots yourself? Run visualize.py to save an annotated image at every step, showing exactly what Northstar decided to do.
Go deeper
Section titled “Go deeper”The quickstart used Tasks, the highest-level API, where Northstar handles everything. For more control, build the loop yourself with the Responses API: spin up a computer, show Northstar the screen, execute the action it picks, feed back a screenshot, repeat.
with client.computer.create(kind="desktop") as computer:    screenshot_url = computer.get_screenshot_url(computer.screenshot())
    response = client.responses.create(        model="tzafon.northstar-cua-fast-1.6",        tools=[{"type": "computer_use", "display_width": 1280, "display_height": 720, "environment": "desktop"}],        input=[{"role": "user", "content": [            {"type": "input_text", "text": "Open the terminal and check disk usage"},            {"type": "input_image", "image_url": screenshot_url, "detail": "auto"},        ]}],    )
    # response.output contains a computer_call with the action Northstar chose    # Execute it, take a new screenshot, send it back. See the CUA loop guide for the full pattern
const computer = await client.computers.create({ kind: "desktop" });const screenshot = await client.computers.screenshot(computer.id!);const screenshotUrl = screenshot.result?.screenshot_url as string;
const response = await client.responses.create({ model: "tzafon.northstar-cua-fast-1.6", tools: [{ type: "computer_use", display_width: 1280, display_height: 720, environment: "desktop" }], input: [{ role: "user", content: [ { type: "input_text", text: "Open the terminal and check disk usage" }, { type: "input_image", image_url: screenshotUrl, detail: "auto" }, ]}],});
// response.output contains a computer_call with the action Northstar chose// Execute it, take a new screenshot, send it back. See the CUA loop guide for the full patternawait client.computers.delete(computer.id!);You can also use computers without Northstar: send clicks, keystrokes, and shell commands directly for fully programmatic control. See Computers.
Already using OpenAI?
Section titled “Already using OpenAI?”Northstar is available through an OpenAI-compatible API. If you’re already using the OpenAI SDK, just change the base URL and model:
from openai import OpenAI
client = OpenAI(    base_url="https://api.tzafon.ai/v1",    api_key="sk_your_api_key_here",)
response = client.chat.completions.create(    model="tzafon.northstar-cua-fast-1.6",    messages=[{"role": "user", "content": "What is reinforcement learning?"}],)print(response.choices[0].message.content)
import OpenAI from "openai";
const client = new OpenAI({ baseURL: "https://api.tzafon.ai/v1", apiKey: "sk_your_api_key_here",});
const response = await client.chat.completions.create({ model: "tzafon.northstar-cua-fast-1.6", messages: [{ role: "user", content: "What is reinforcement learning?" }],});console.log(response.choices[0].message.content);Streaming, tool calling, and structured outputs all work. See Chat Completions for the full reference.
Next steps
Section titled “Next steps”- Tasks: how Tasks work, configuration, pause/resume
- Responses API: build your own computer-use loop with Northstar
- Computers: direct computer control without a model
- How Lightcone works: architecture and the API layers